As a professional plasterer based in Bournemouth, I’ve worked on all kinds of wall and ceiling surfaces. Recently, I completed a large room renovation where the client opted for Jakoboard instead of traditional plasterboard. It’s becoming a popular choice in modern builds and bathroom refurbishments – but many still ask: “Can you plaster over Jakoboard?”
Absolutely – and in this post, I’ll walk you through the best method to plaster onto Jakoboard to ensure a smooth, durable, and professional finish.
—
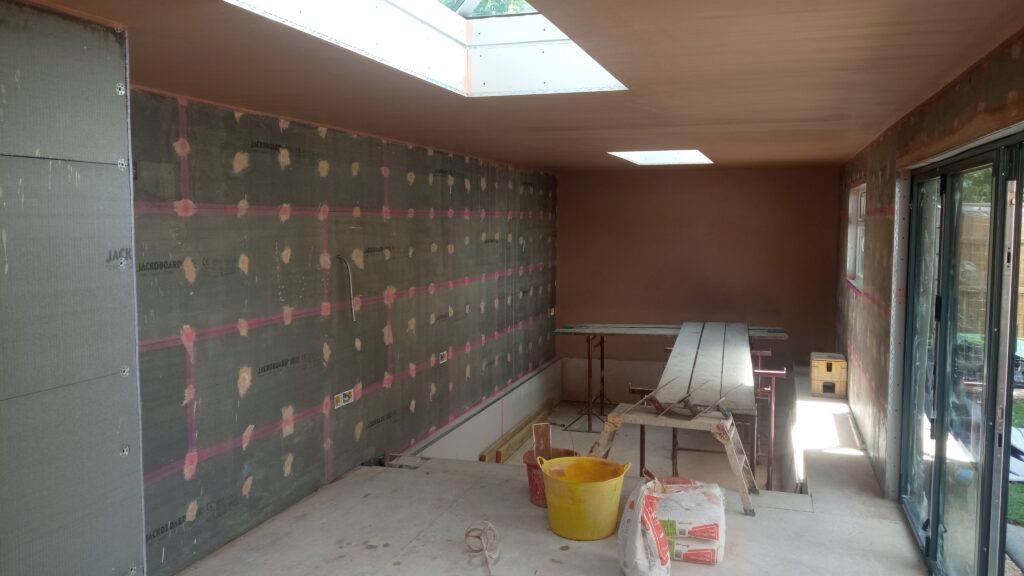
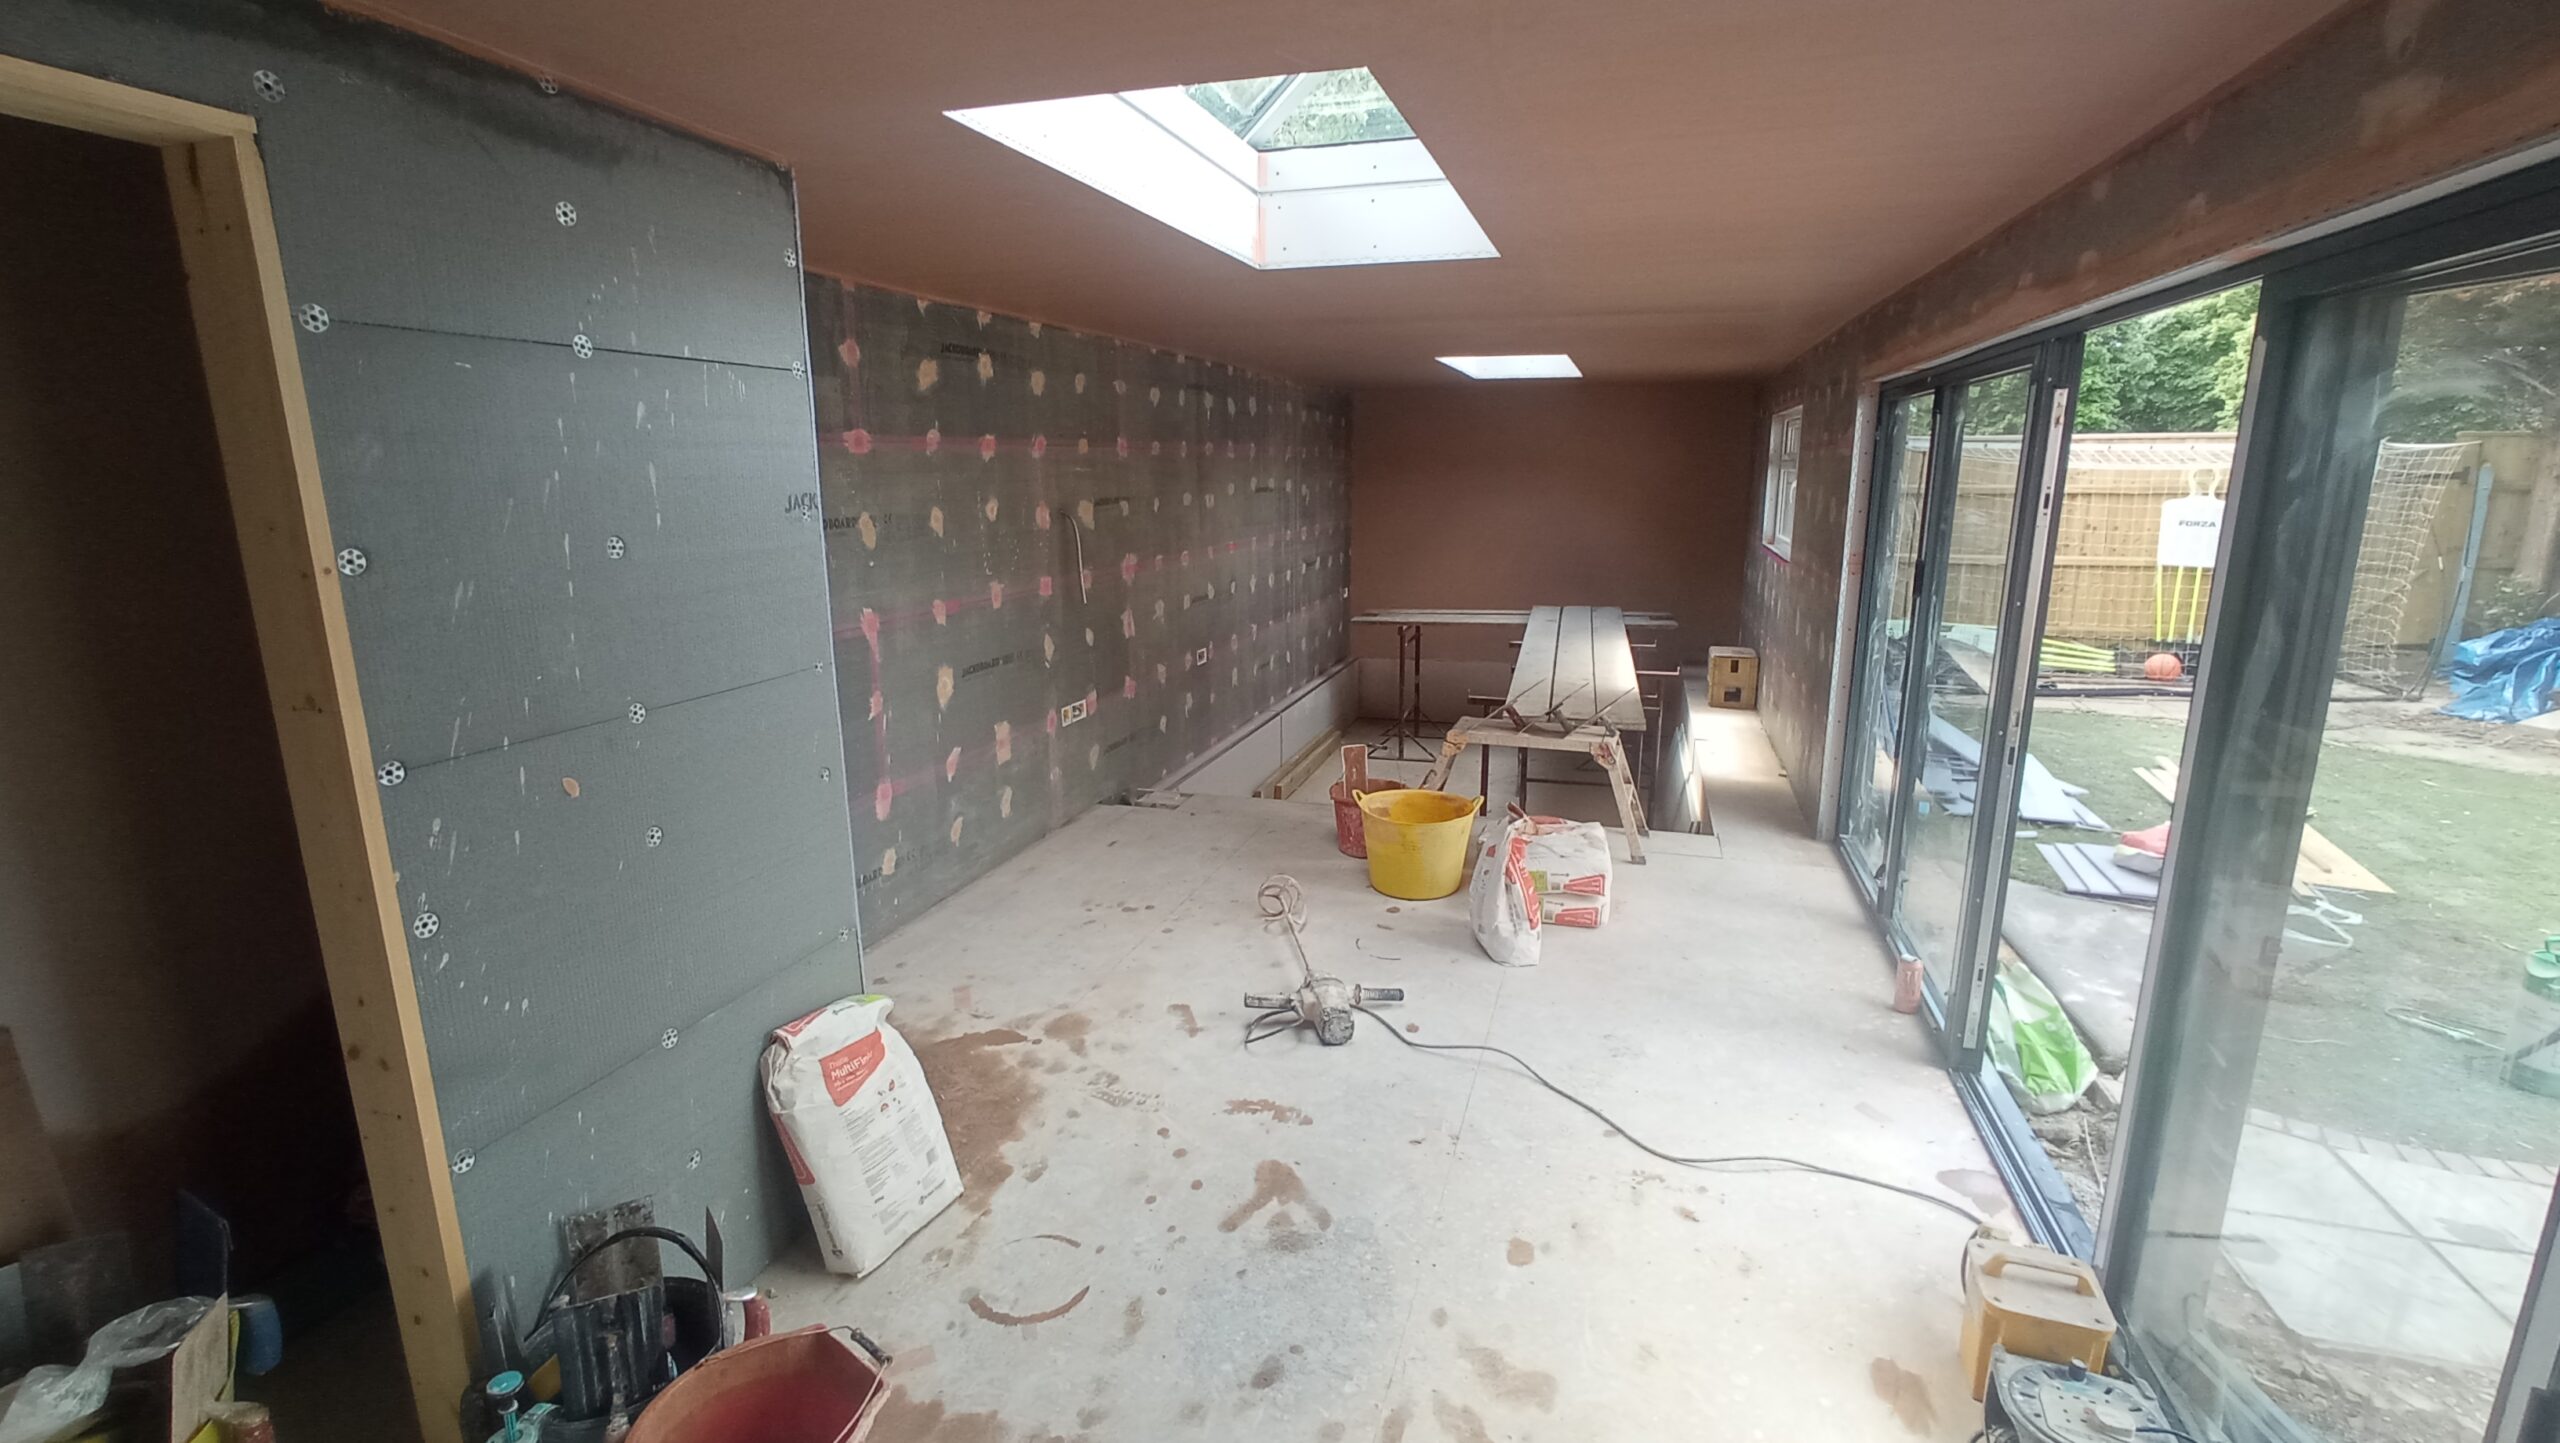
What is Jakoboard?
Jakoboard is a cement-coated foam construction board used widely for wet rooms, bathrooms, and areas needing waterproofing. It’s lightweight, strong, and provides excellent thermal insulation. Unlike standard plasterboard, it’s water-resistant and doesn’t absorb moisture – which is great for longevity, but it changes how you approach plastering.
—
Can You Plaster on Jakoboard?
Yes – but not in the same way as traditional gypsum plasterboard. Jakoboard is non-porous and has a cementitious surface, so preparation is key to ensure proper adhesion and avoid cracks or delamination later.
—
Best Way to Plaster Over Jakoboard
Here’s how I plaster over Jakoboard on professional jobs across Bournemouth:
—
1. Ensure Proper Fixing
Before plastering, make sure the Jakoboard is:
Fixed securely with the correct stainless steel washers and screws.
All joints are taped with alkaline-resistant mesh tape and filled with flexible tile adhesive or modified thin-set mortar.
Flat, stable, and free from flex or movement.
—
2. Prime the Surface
Jakoboard is water-resistant and won’t absorb moisture from plaster like regular board. This means plaster can struggle to bond unless the surface is prepped properly.
Use an acrylic-based bonding primer, like Blue Grit or Thistle Bond-It.
Apply a consistent coat with a roller and allow it to dry fully (usually 24 hours).
This gives the plaster something to grip onto.
—
3. Use the Right Plaster
Once primed, you can apply:
Thistle MultiFinish for most internal dry areas.
For bathrooms or kitchens with high humidity, consider a lime-based plaster or cement-based skim coat for improved moisture tolerance.
—
4. Apply in Two Coats
Standard skim technique works:
First Coat (Base Coat): 2mm approx. thickness. Smooth out quickly and evenly.
Second Coat: Apply once the first coat is tacky. Flatten it down and trowel to a polished finish.
Always follow manufacturer guidance on drying times and conditions.
—
5. Allow to Dry & Decorate
Jakoboard won’t draw moisture from the plaster like plasterboard, so drying may take longer. Ensure good ventilation and avoid forced drying (like heaters) which can cause cracking.
Once fully dry, mist coat with paint or tile directly over it – depending on the room use.
—
Final Tips from a Bournemouth Pro
Always check with the plaster manufacturer that their product is suitable over cement boards.
Don’t skip the primer – it’s crucial.
If you’re tiling instead of skimming, you can tile directly onto Jakoboard with flexible adhesive – no need to plaster.